
Hit Enter to Search or X to close
Your Guide to Scanning Tickets with Posh
Working the door at a Posh event? This guide is your go-to resource for scanning tickets, checking guests in, and handling common scenarios like a pro.
Organizers: send this to your door team so they’re fully equipped before doors open.
1. Accessing the Ticket Scanner
There are two ways to access the ticket scanner inside the Posh app:
Option A: Use a Scanner PIN (No Login Needed)
The fastest way to get scanning — no account required.
Steps:
1. Download the Posh App on your iPhone or Android.
2. Tap the heartbeat icon (second from the bottom left).
3. Tap the QR scanner icon in the bottom right corner.
4. Enter the 6-digit PIN provided by the organizer. Here’s how they access it.
5. You’ll be taken directly to the scanner screen.
.png)
Option B: Be Invited as a Doorperson (Requires Login)
Organizers can add your email and give you scanner permissions.
Steps:
1. You’ll receive an email and SMS once added as a doorperson.
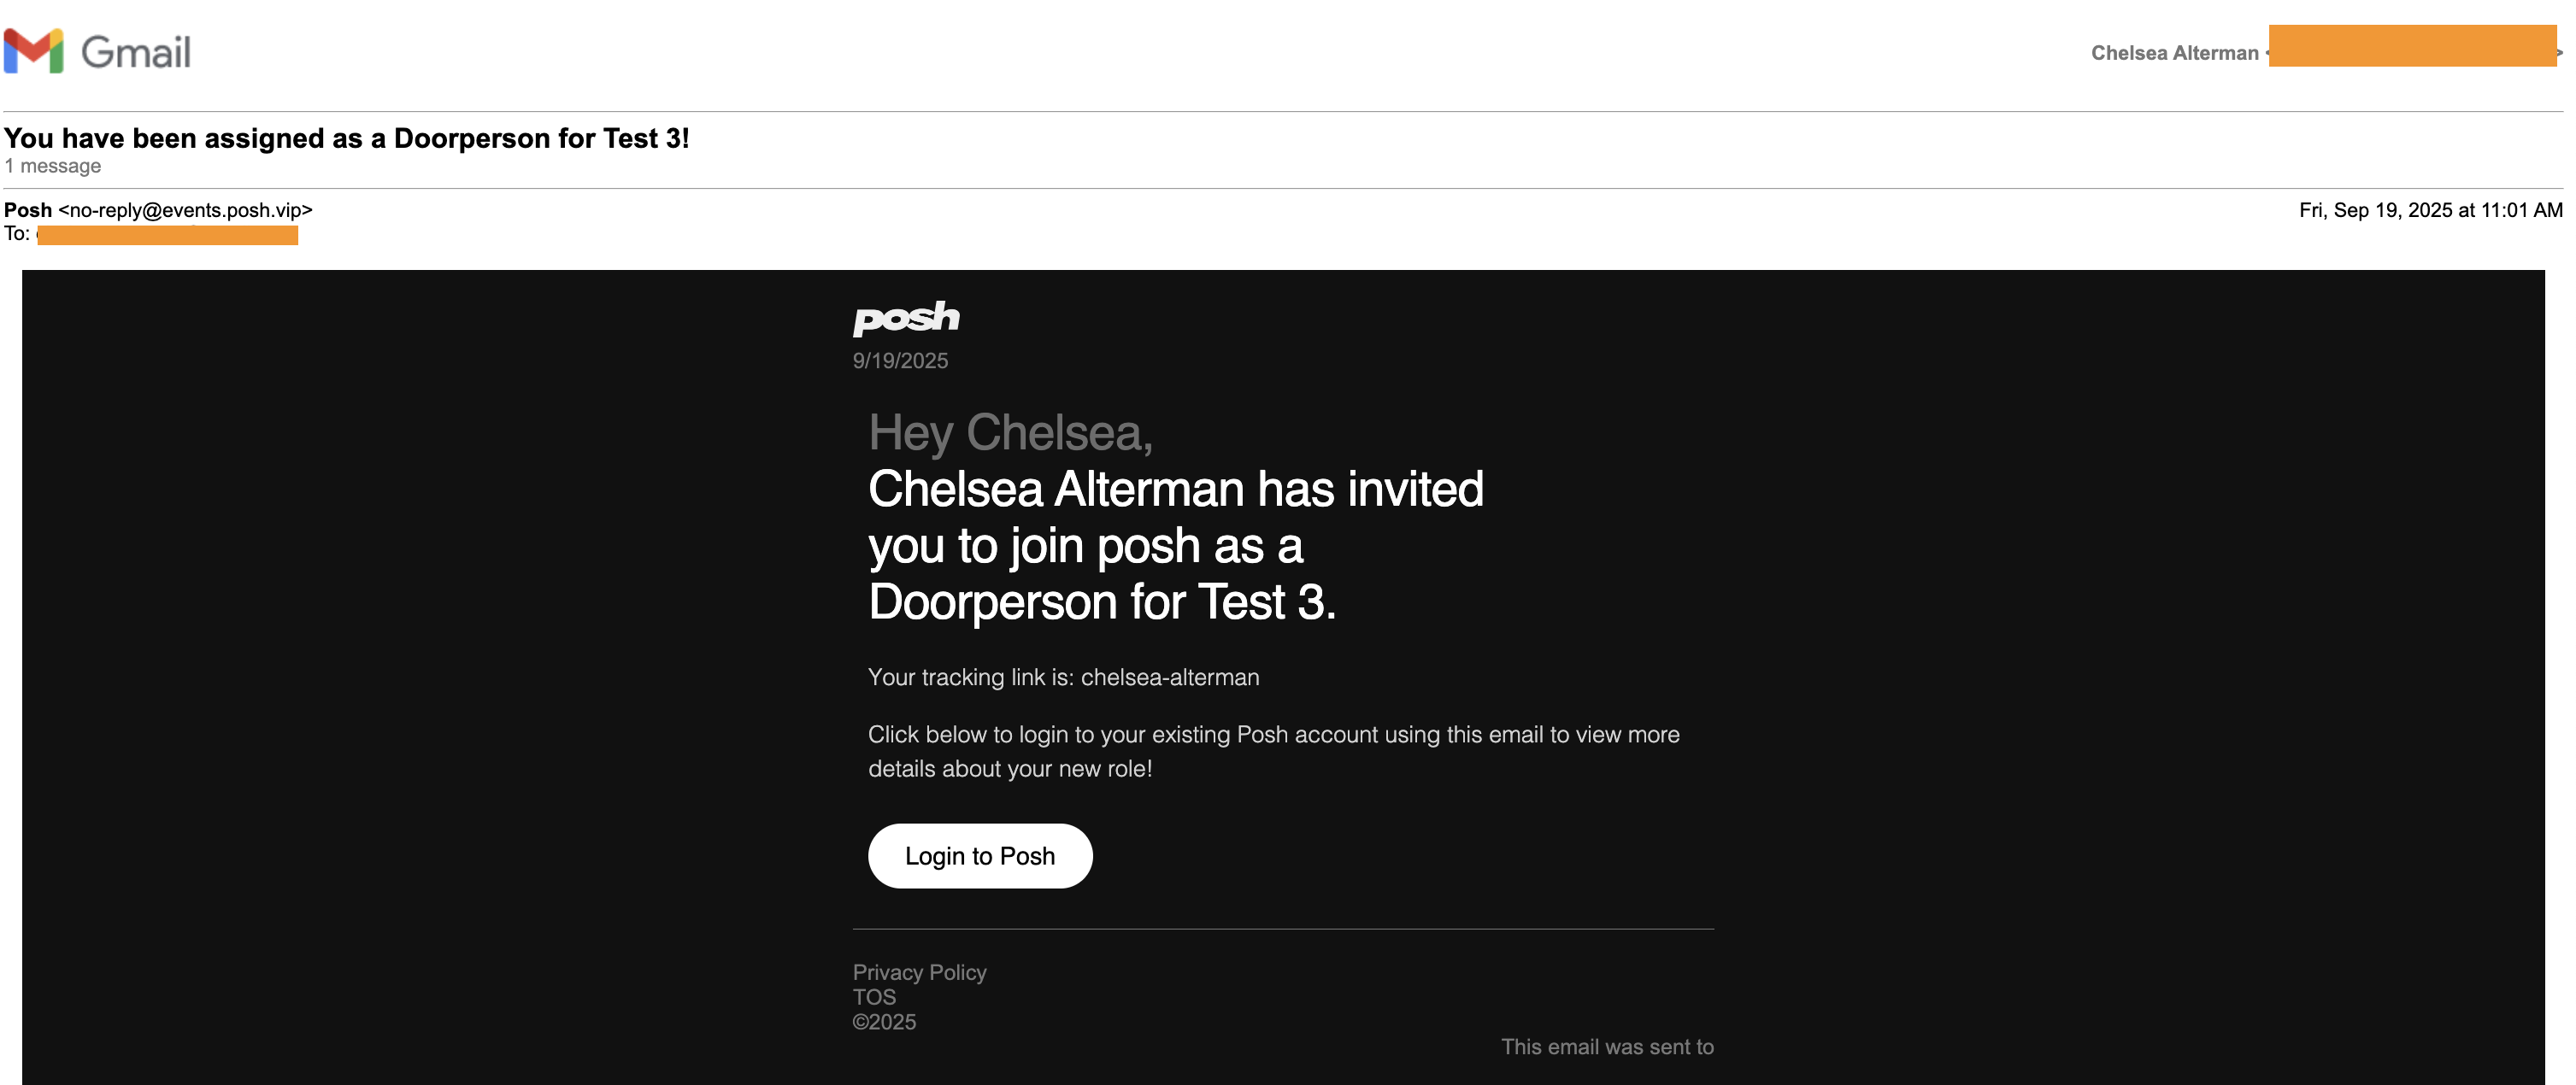

2. Click the link to "Login to Posh" — if you don’t already have a Posh account, you can create one using your phone or email.
3. Open the Posh mobile app.
4. Tap the heartbeat icon, then the hamburger menu (top left).
5. Tap the name of the organization, then select the event you’re working.
6. Tap Scan Tickets to begin.
.png)
2. How to Scan Guests In
Once you're in scanner mode:
- Point your camera at the guest’s QR code (from the Posh app, confirmation email, or PDF).
- If valid, you’ll see a checkmark and the guest’s name.
- Tap to confirm check-in if prompted.
3. Common Scenarios & How to Handle Them
Guest Has Multiple Tickets
If a guest bought multiple tickets in one order, only check in the people who are physically present. Don’t scan tickets for friends who haven’t arrived yet — when you pull up their tickets, just select the individual ticket for each person entering.

Sometimes guests try using printed tickets, but if the main QR code has already been scanned, those print outs may not work as they may have already scanned when the main QR was scanned.
In that case, if there’s any confusion, use Search Orders to look up the original purchaser's name and see how many tickets in their order are still unscanned. If tickets are left, you can check in the remaining guests manually.
Guest Can’t Find Their Ticket
- Ask them to search their email inbox for:
- Subject line: “Your Ticket For [Event Name]”
- Sender: [email protected]
- Have them open the Posh App — tickets are saved under their account once logged in
- Still can’t find it? You can use the Search Orders tab in the scanner to look them up by name or email
Search by Name or Email
If a guest doesn't have their QR code:
- Tap Search Orders by clicking the magnifying glass icon (top right of the ticket scanner) and search them by name, email or order #.
- Type their name or email address
- Select their ticket and check them in manually
“Can I Use My Friend’s Ticket?”
- Only valid if they have the actual QR code (not just a name)
- If the individual ticket has already been scanned, it won't work again
- You can use Search Orders to verify if needed.
- If the organizer has ticket transfers enabled, guests can transfer tickets on the spot. Here is how ticket transfers work.
“I Don’t Have the Posh App”
- No problem — their confirmation email includes a scannable QR code
- If they still can’t find it, use Search Orders.
“Can I Pay at the Door?” (IPP)
If the organizer enabled IPP (In Person Payments):
- Tap IPP in the scanner view
- or if you’re already on the scanner page, you can click the IPP Icon in the lower right corner and it’ll directly take you to the IPP view.
- Add the ticket you want to charge — or alternatively, create a custom amount.
- Attendee with tap their card down to process payment.
.png)
Pro tip: After they tap to pay, ask for their phone number to send a receipt — it will add them to the organizer’s contact list for future events.
Here's a 10 second video on how to use IPP on Posh:
Ticket Invalid
If a ticket scans invalid and turns grey, don’t panic—this just means the ticket isn’t valid yet. Most often, these are time-gated tickets—for example, a free or discounted entry that only activates after a certain time.
What to do:
Kindly let the guest know that their ticket isn’t active yet and they’ll need to return at the time listed on their ticket. A simple “Hey! This ticket activates a little later—feel free to hang out and come back once it’s valid,” is all it takes.
💡 Organizers often use this feature for late entry discounted tickets.

Ticket Expired
If the scanner flashes red and says invalid, the ticket has expired. This typically happens when someone tries to use a ticket meant for early entry after the valid time has passed.
What to do:
Let them know their ticket is no longer valid. If the organizer allows it, you can use Tap to Pay to charge the door price or a custom cover amount.
Even better? Ask the organizer to set up a “Door Charge” ticket in advance. That way, you can quickly charge and check them in using Tap to Pay without confusion.
.png)
4. Best Practices at the Door
Before doors open, here are a few things you’ll want to have ready to go. This checklist will help ensure your scanning process is smooth, quick, and stress-free — especially during those busy first 30 minutes:
- Bring a charged phone (or a backup battery)
- Use stable WiFi or data for fastest scanning
- Double-check names if searching manually
- Be friendly but firm — if someone’s not on the list, loop in the lead organizer
- Stay calm — 99% of issues are quick fixes
5. Quick Links for Door Teams


Join Our Newsletter
Get a weekly selection of curated articles from our editorial team.